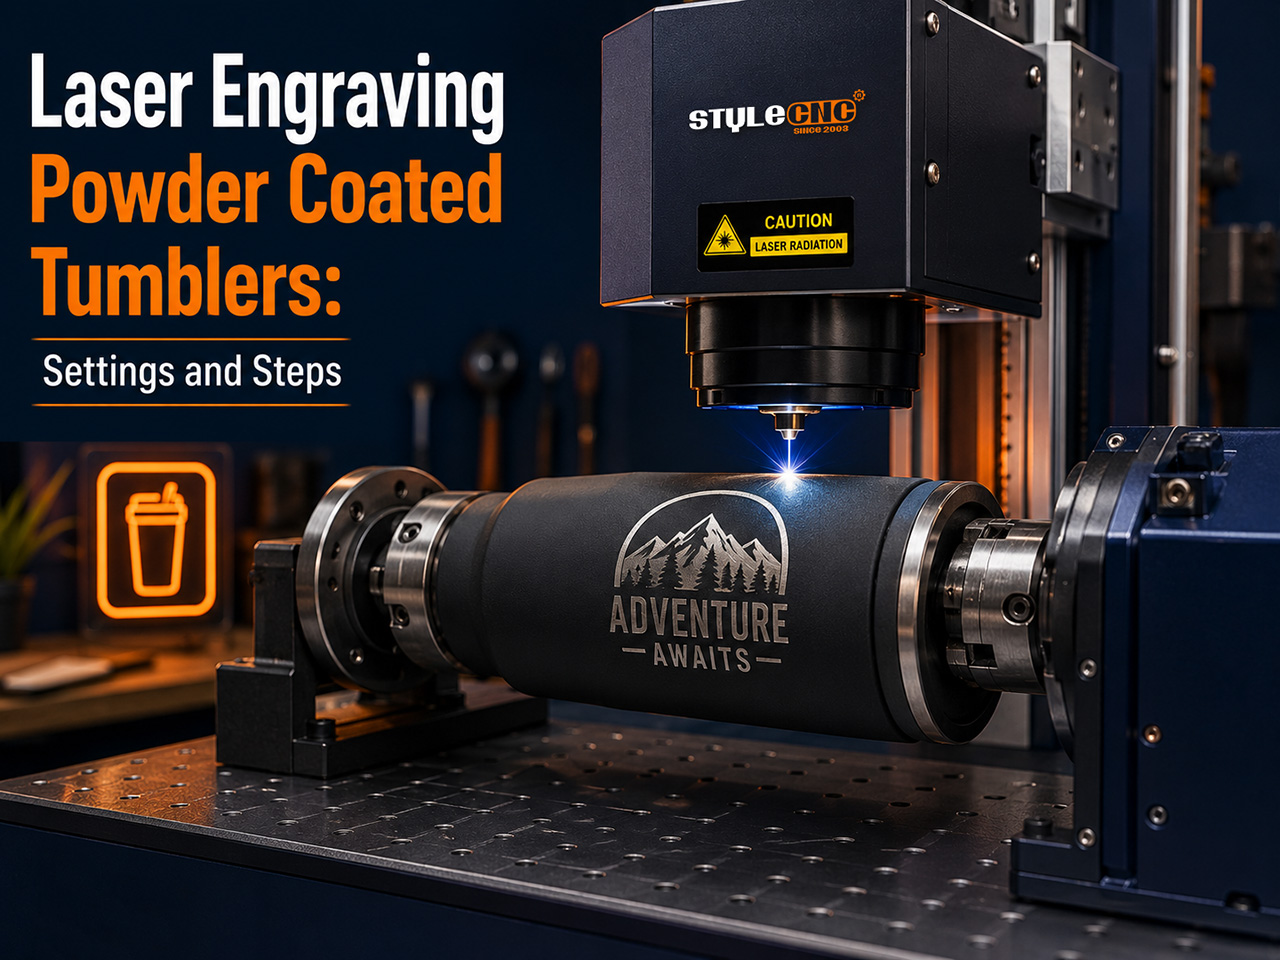
텀블러 블랭크는 시중의 다른 어떤 블랭크보다 다양한 표면 유형으로 출시되며, 각 유형마다 필요한 설정이 다릅니다. 이 가이드에서는 코팅 유형과 기계 유형별로 설정을 정리한 다음, 캘리퍼 측정부터 최종 마무리까지 회전식 설정 과정을 단계별로 설명합니다.
코팅에는 실제로 어떤 일이 일어날까요?
이 빔은 약 60~120 마이크론 두께의 코팅층을 증발시켜 아래쪽의 밝은 스테인리스 표면을 드러내므로, 코팅 색상이 위쪽에, 은색이 아래쪽에 그대로 드러나는 자연스러운 대비 효과를 얻을 수 있습니다. 어떤 첨가물도 사용되지 않기 때문에 이러한 자국은 절대 벗겨지지 않습니다.
맨 강철 표면에 마킹하는 것은 물리적으로 다른 원리가 적용됩니다. 레이저가 표면을 제거하는 대신 어둡거나 색깔 있는 막을 산화시키기 때문에 설정이 그에 따라 변경됩니다.
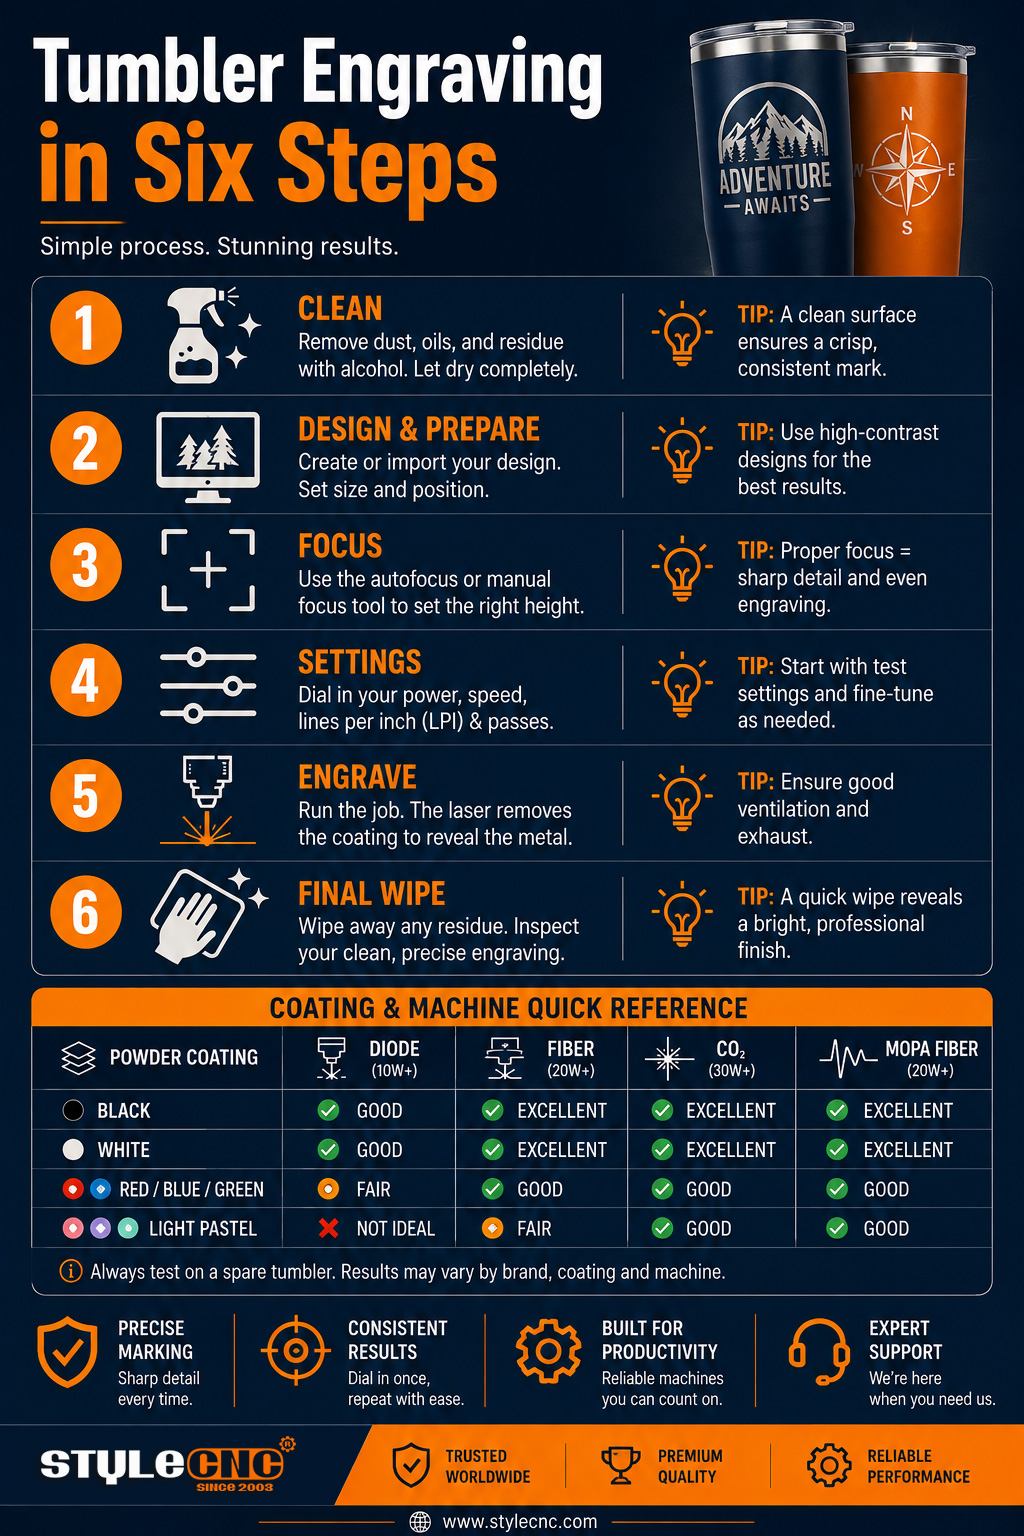
두 작업 모두 설정에서 매일 실행됩니다. STYLECNC's 예티, 램블러, 텀블러용 각인 솔루션그리고 아래 도표는 두 가족을 분리시켜 줍니다.
Surface에 맞는 기기를 선택하세요
섬유 소재는 다재다능합니다. 코팅을 빠르게 제거하고, 스프레이 없이 맨 스테인리스 표면에 자국을 남기며, 척 로터리 기계와도 자연스럽게 잘 어울립니다. 바로 이러한 이유 때문에 섬유 소재는 널리 사용됩니다. 파이버 레이저 마킹 머신 대부분의 전용 텀블러 설정을 고정합니다.
CO2 코팅된 컵을 잘 다루며 나무 및 아크릴 재질에도 사용할 수 있지만, 금속 표면에는 먼저 마킹제를 발라야 합니다. 더 다양한 제품을 살펴보세요. 레이저 조각기 제품군 연마 작업과 평판 작업이 작업장과 같은 곳에서 이루어질 때.
다이오드 프린터는 취미 수준으로 저렴한 가격에 코팅된 재료를 처리할 수 있습니다. 코팅되지 않은 강철에 풀 컬러 인쇄를 하려면 더 비싼 장비가 필요합니다. MOPA 색상 소스 산화물 색조가 증가합니다. 표준 고정 펄스로는 불가능합니다.
표면 및 기기별 설정 차트
아래 창은 회전식 마운트를 가정하고, 곡선의 정점에 초점을 맞추고, 공장 코팅을 기준으로 합니다. 블랭크 바닥면에서 깨끗한 테스트를 마친 후에만 위쪽으로 조정하십시오.
| 표면 타입 | 섬유 레이저 30W | CO2 레이저 60W | 다이오드 레이저 10W |
| 측량 | 속도 mm/s, 출력 %, 주파수 kHz | 속도 mm/s, 출력 % | 속도(mm/min), 출력(%) |
| 분체 도장 제거 | 50세에 600-90070%30-60kHz, 1-2회 통과 | 300-400야드, 성공률 20-35%, 패스 1-2회 | 3000-4500에서 60-80%, 1-2 패스 |
| 에폭시 또는 글리터 코팅 | 400-600에서 60-80%, 20-40kHz, 2-4회 통과 | 250-350야드, 성공률 30-45%, 패스 2-3회 | 70세에 2500-350090%2-4 패스 |
| 스테인리스 스틸에 생긴 어두운 자국 | 40세에 300-50060%40-60kHz, 단일 통과 | 표시용 화합물 필요 | 마킹 페이스트 필요 |
| 맨 강철에 풀 컬러 인쇄 | MOPA 소스 필요, 저속 그리드 | 적합하지 않음 | 적합하지 않음 |
| 승화 폴리머 코팅 | 권장하지 않음, 코팅이 녹습니다. | 권장하지 않음, 코팅이 녹습니다. | 권장하지 않음, 코팅이 녹습니다. |
기억해 두면 좋은 주요 수치
• 일반적인 20온스 용지의 지름은 약 74~78mm이며, 지름이 1mm만 오차가 나도 줄바꿈된 텍스트가 눈에 띄게 왜곡됩니다.
• 분체 도장의 두께는 약 60~120 마이크론이며, 분체 도장 협회(Powder Coating Institute)는 일반적인 마감재의 화학적 성질을 문서화하고 있습니다.
• 글리터와 에폭시 층은 일반 파우더보다 몇 배 더 두껍게 도포되므로 항상 여러 번 덧칠해야 합니다.
• 갈보 시스템에서는 8~10mm의 호 세그먼트가 전체 마크를 초점 창 내부에 유지합니다.
• 고속으로 두 번 빠르게 촬영하면 한 번 느리게 빠르게 촬영하는 것보다 더 밝은 결과물을 얻을 수 있습니다.
단계별 제작 과정: 빈 텀블러에서 완성된 텀블러까지
• 빈 표면을 이소프로필 알코올로 닦고, 이후에는 테두리와 바닥 부분만 잡으십시오. 손의 유분이 표면에 스며들 수 있습니다.
• 정확한 조각 영역에서 캘리퍼스로 직경을 측정하고 회전 설정에 입력하십시오. 표기된 크기는 절대 신뢰하지 마십시오.
• 컵을 척에 장착하거나 그립 테이프가 부착된 롤러에 장착하고 축의 수평을 맞추십시오. 회전식 부착 장치 사용법 안내 척 버전의 전체 과정을 보여줍니다.
• 테이블이 아닌, 보 바로 아래에 있는 곡선의 정점에 초점을 맞추세요.
• 작업 틀을 잡고 용접 이음매가 작품에 닿지 않는지 확인한 후, 바탕면이나 예비용 재료에 가벼운 테스트를 진행하십시오.
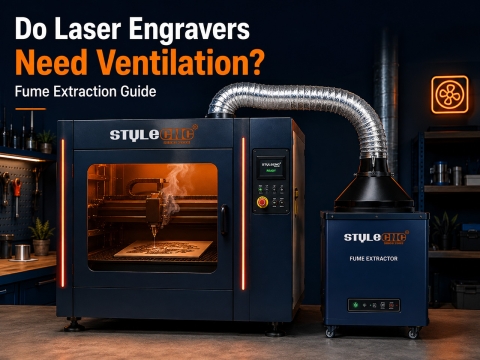
• 추출 과정이 진행되는 동안 조각합니다. 레이저 기계용 연기 추출기그런 다음 새 알코올로 잔여물을 닦아내십시오.
곡선형으로 연마된 강철은 눈에 보이지 않는 광섬유 파장을 예측할 수 없는 방향으로 쏘아대기 때문에, 미국 레이저 협회(LIAA)의 지침을 충족하는 1064nm 등급의 보안경을 작업 내내 착용해야 하며, 작업량이 증가하기 전에 미국 국립산업안전보건연구원(NIOSH)의 노출 관련 지침을 읽어보는 것이 좋습니다.
운영 담당자들이 실제로 묻는 질문들
텀블러가 주력 상품이라면 어떤 기계를 사야 할까요?
척 로터리 커버가 장착된 광섬유 소스는 코팅 제거, 노출된 강철 자국, 생산 속도를 하나의 패키지에 모두 담았습니다. 선택하세요. CO2 코팅된 컵이 나무 및 아크릴 작품과 같은 기계에서 사용될 때만 해당됩니다.
텀블러 하나를 실제로 돌리는 데 얼마나 걸리나요?
광섬유 로고는 장착 후 30초에서 90초 동안 작동합니다. CO2 사진 랩핑은 기계를 10분에서 20분 정도 멈추게 할 수 있으므로, 견적 랩핑과 로고 랩핑은 매우 다릅니다.
곡면에서 초점을 어디에 맞춰야 하나요?
빔 바로 아래 정점선에 맞춰야 하며, 절대로 테이블 위에 놓으면 안 됩니다. 회전 장치가 각 부분을 동일한 높이로 맞춰주기 때문에, 한 번의 세심한 집중으로 전체 랩핑 작업을 완료할 수 있습니다.
빈칸을 망치는 흔한 실수
• 넓은 랩을 호 모양으로 여러 부분으로 나누지 않고 한 번에 조각합니다.
• 캘리퍼스로 측정하는 대신 지름을 어림짐작하는 것.
• 알코올 솜으로 닦지 않고 피부 유분이 자연스럽게 드러나도록 두는 방법.
• 에폭시 글리터 코팅을 표준 파우더 코팅 설정으로 진행합니다.
• 그립 테이프나 스톱 장치 없이 컵을 맨 롤러 위에서 회전시킵니다.
• 용접 이음매를 가로지르는 가는 글씨.
• 코팅된 컵에 맨 금속 설정을 사용하여 가장자리에 그을음 자국이 생기는 현상.
• 환기 장치 없이 실내에서 코팅 제거 작업을 진행합니다.
텀블러 각인 전 체크리스트
✓ 빈 표면을 이소프로필 알코올로 닦고 완전히 말리십시오.
✓ 캘리퍼스로 직경을 측정하고 회전 설정에 입력하십시오.
✓ 액자에 넣기 전에 텀블러를 장착하고 수평을 맞춘 후 시험 회전시켜 보세요.
✓ 표가 아닌 곡선의 정점에 집중하세요.
✓ 작업 틀을 잡고 이음매가 디자인 바깥쪽에 위치하는지 확인하십시오.
✓ 베이스 또는 예비용 블랭크에 가볍게 테스트 사격을 해보세요.
✓ 작업 전 과정 동안 추출 장비와 정격 눈 보호 장비를 착용하십시오.
자주 묻는 질문
아래 질문들은 메이커 및 마킹 커뮤니티 전반에서 반복적으로 제기되는 질문들입니다. 답변을 간략하게 정리하여 빠르게 참고하실 수 있도록 했습니다.
가운데는 선명한데 가장자리는 흐릿한 이유는 무엇일까요?
갈보 방식 조명기에서는 빔이 곡선의 좁은 영역에만 초점을 맞춥니다. 작품을 8~10mm 호 크기의 세그먼트로 나누고 회전축을 각 세그먼트 사이로 이동시키면 모든 영역이 초점 영역 안에 위치하게 됩니다.
텀블러에 롤러 회전식과 척 회전식 중 어떤 것을 사용해야 할까요?
척은 림을 단단히 고정하고 미끄러짐 없이 회전하므로 손잡이, 테이퍼형, 전체 랩형에 적합합니다. 롤러는 더 저렴하고 로딩 속도가 빠르지만 가벼운 컵은 미끄러질 수 있습니다. 텀블러가 주력 제품이라면 척은 몇 개의 블랭크를 망가뜨리는 것만으로도 투자 비용을 회수할 수 있습니다.
컵 사이즈를 바꾸려면 회전 각도를 어떻게 조정해야 하나요?
곡선을 따라 h8로 알려진 직사각형을 새긴 다음, 유연한 줄자로 측정합니다. 측정값이 길게 나오면 입력한 직경 또는 단계 값이 너무 큰 것입니다. 오차 비율로 값을 조정한 후 다시 실행하십시오. 일반적으로 두 번의 테스트 주기 후에는 2mm 미만의 오차 범위 내에 들어갑니다.
코팅이 깨끗하게 벗겨지지 않고 갈색으로 변한 이유는 무엇인가요?
갈색 테두리는 빔이 코팅을 기화시키는 대신 가열했음을 의미합니다. 속도를 높이거나 출력을 낮춘 다음 두 번째 광선을 조사하여 남아있는 부분을 제거하십시오. 차갑고 빠른 조사는 밝은 은색을 남기고, 느리고 강한 조사는 가장자리에 색상이 스며들게 합니다.
용접 이음매를 가로질러 각인할 수 있나요?
그러지 않는 게 좋습니다. 이음매가 표면보다 아주 살짝 튀어나와 있어서, 그 위로 가는 글씨를 쓰면 끊어진 부분이 눈에 띕니다. 이음매가 그림과 반대쪽에 오도록 빈 페이지를 돌리거나, 테두리 요소로 가리는 것이 좋습니다. 대부분의 인쇄소에서는 액자에 넣기 전에 이음매 부분을 테이프로 표시합니다.
노출된 철근 부분을 나중에 밀봉해야 하나요?
아니요. 표면은 스테인리스 재질이라 자체적으로 보호되며, 주변 코팅은 그대로 유지됩니다. 알코올로 잔여물을 닦아내면 바로 사용할 수 있습니다. 투명 코팅은 염분에 노출되거나 자주 만지는 야외용 제품에만 필요합니다.
직선이 물결 모양으로 그려지는 이유는 무엇일까요?
컵이 미끄러지거나 흔들립니다. 롤러에 그립 테이프를 감고, 척을 단단히 조이고, 축이 수평인지 확인하고, 각 구간 사이의 회전 속도를 늦추십시오. 긴 텀블러 아래에 테일스톡이나 폼 지지대를 설치하면 작업 도중 자유단이 튀는 것을 방지할 수 있습니다.
테이퍼형 텀블러는 어떻게 다루어야 하나요?
조각 영역이 빔 경로와 평행이 되도록 회전축을 조정하거나 기울여 디자인 전체에 걸쳐 초점이 일정하게 유지되도록 하십시오. 각도 조절이 가능한 척 회전축을 사용하면 이 작업을 하나의 노브로 간단하게 할 수 있습니다. 지름은 테두리가 아닌 아트워크 중앙에서 입력하십시오.
코팅이 타면서 발생하는 연기는 위험한가요?
마치 그런 것처럼 취급하십시오. 코팅 제거 과정에서 미세 입자와 유해 물질이 방출되므로 실내에 반입해서는 안 됩니다. 따라서 흄 추출기를 작동시키거나 외부로 환기시키고 밀폐된 공간을 유지하십시오. NIOSH와 같은 기관에서 발행하는 노출 지침을 생산 전에 반드시 읽어보시기 바랍니다.